Why use a versioning system
- History, we can "roll back" if needed
- Accountability, who/what/why/when
- Integrity, all commits are check-summed
What is Git
- Git is not GitHub, GitHub is built on Git
- It is a fast, distributed version control system
- Git track changes to files
- The preference is text based files. Why?
- Git stores "snapshots" of changes made
- Git focuses on Data integrity and professional workflow
Why Git?
- In recent years, git has gain in popularity due to GitHub
- Many companes use Git/GitHub
- Allows for collaboration and managing workflow
- Branching allows for multiple people to work together
Git and GitHub
- GitHub uses Git but addes a few things
- Git is designed for local use, GitHub moves this to the cloud
- Additional features are added such as team management and project management
- Git is free and open source, GitHub has "free use" but is also a SaaS
- Since Git is typically used "locally", GitHub adds Push/Pull to sync to server
Git and GitHub basics
- Repository (where the code lives)
- Commits
- Branch
- Push/Pull
Our repository is where our code lives. It contains all of the files we are working with. It also includes special files which is how Git/GitHub keeps tracks of everything (all in the .git folder). We do not need a server. All of your commits and code lives locally...until you sync them to GitHub.
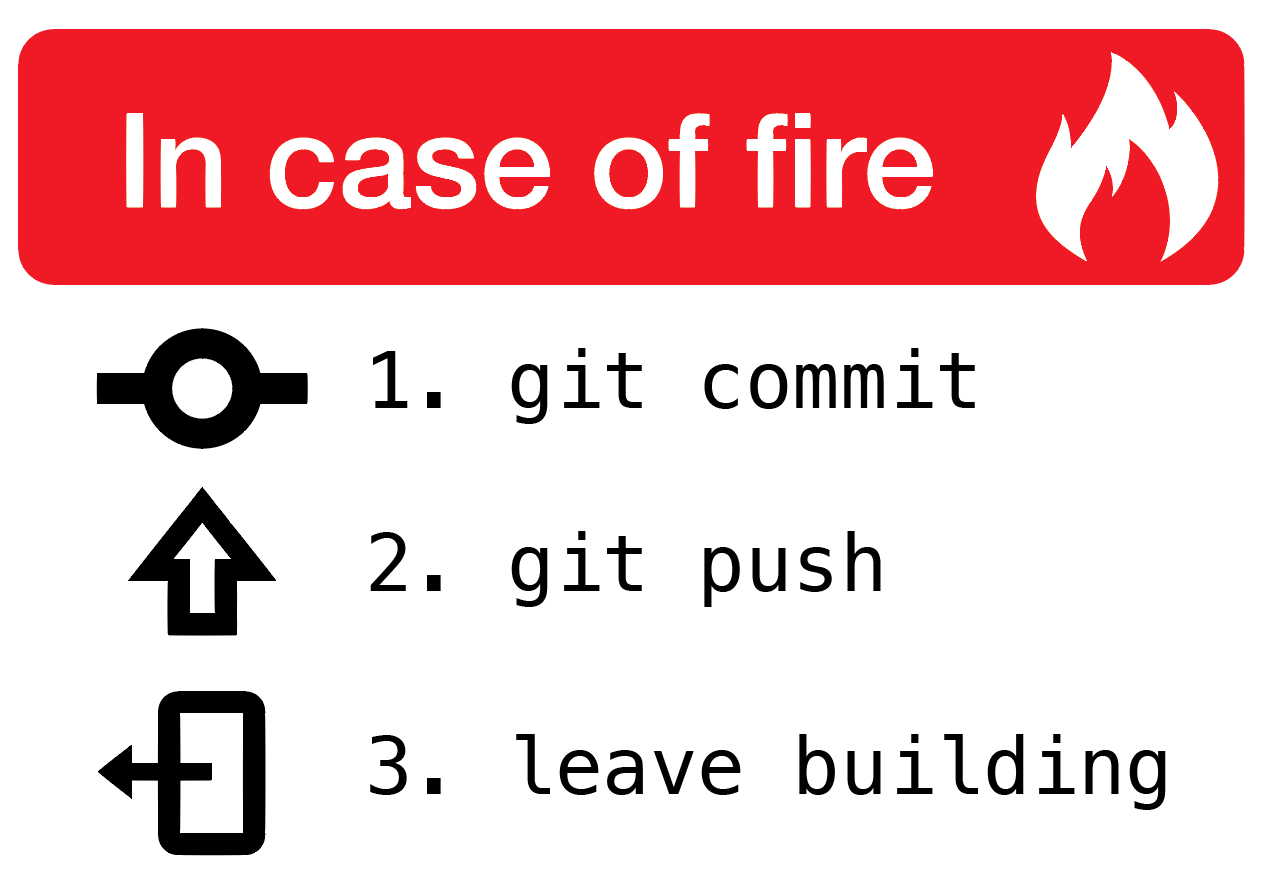
Commits
Commits are your save button. You should commit as often as you can (like after a critical step). It will keep a history of your which means, you can go back and review your work or even revert to a previous commit if needed. But this only works if you use the tools you are given.

- When you start, you have a “main” branch
- A branch allows us to make changes without disturbing the “holy” main branch
- When we are satisfied with those changes (after testing of course) we can merge these changes back into the main branch
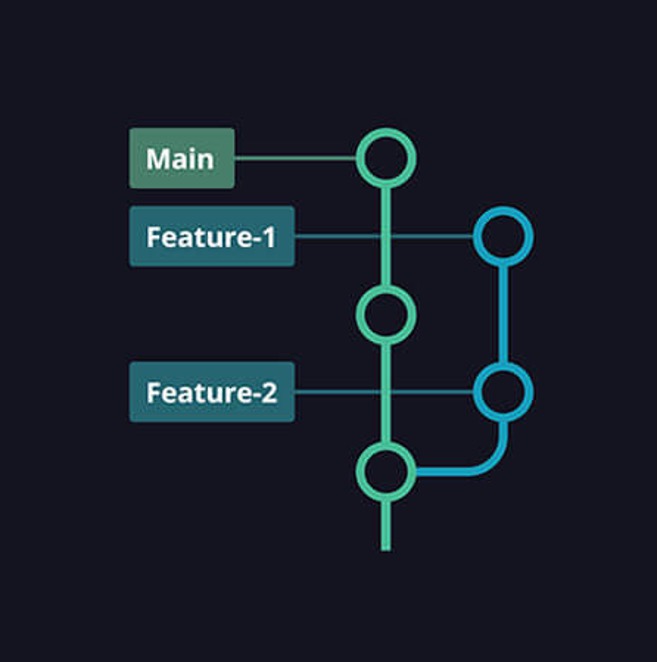
Branches
- All branches have a “pointer” that identifies that branch
- A special pointer called HEAD is used to keep track of which branch you are currently working on
- In most cases, we will then merge changes back into our main branch
Branches
- We can have as many branches as we want
- However, remember, our goal is to eventually merge them back to the main branch (in most cases)
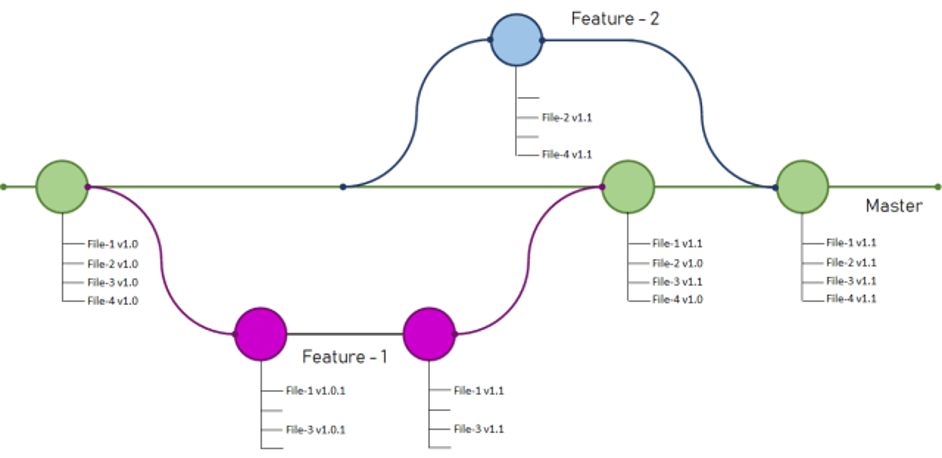
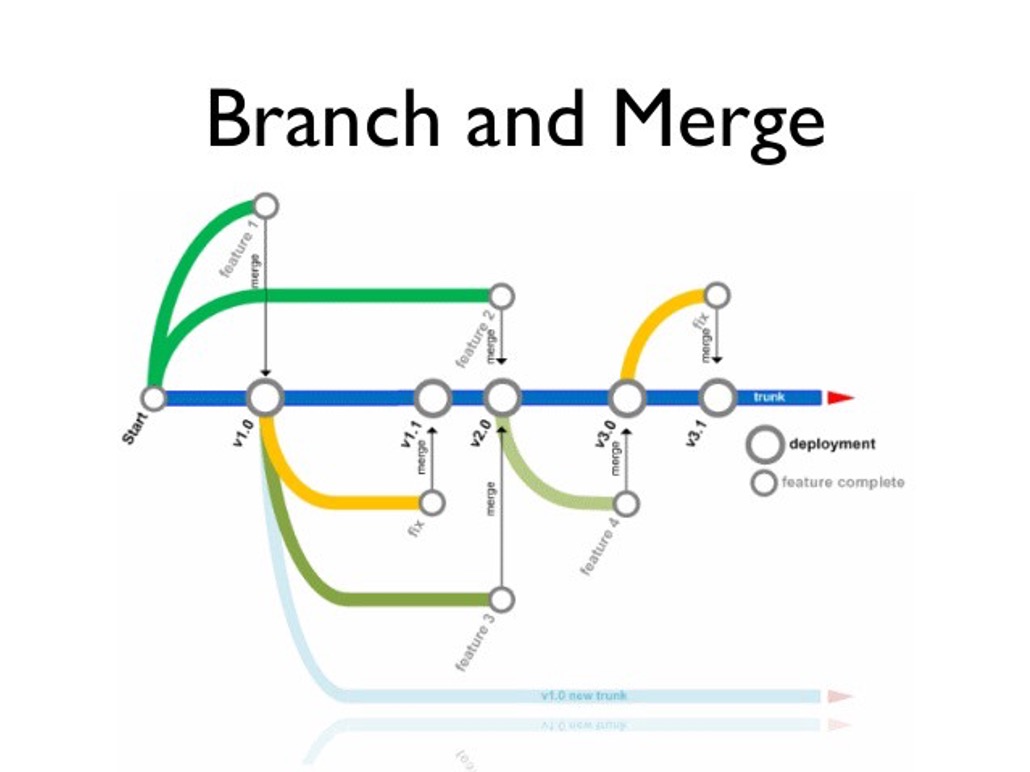
Merges
- When we want to take changes in a branch and put them back to main, we merge them
- GitHub tries to resolve any conflicts
- In some cases, this needs to be done manually
- For this reason, we often have teams work on certain parts of the code and leave other parts for other teams to work on
Pull request
- Before we merge though, we do a pull request
- This signals that you are done with the work in your branch
- It also signals that it is ready to review
- If tests pass/review is good, then a maintainer will merge into the main branch

Homework
- For the homework, you will always do a branch from the main branch into a develop branch
- Name this “devel-netid” for the homework
- Complete the homework per the instructions given
- Do a pull request through GitHub
- Make sure you pass all of the tests
- Merge your pull request
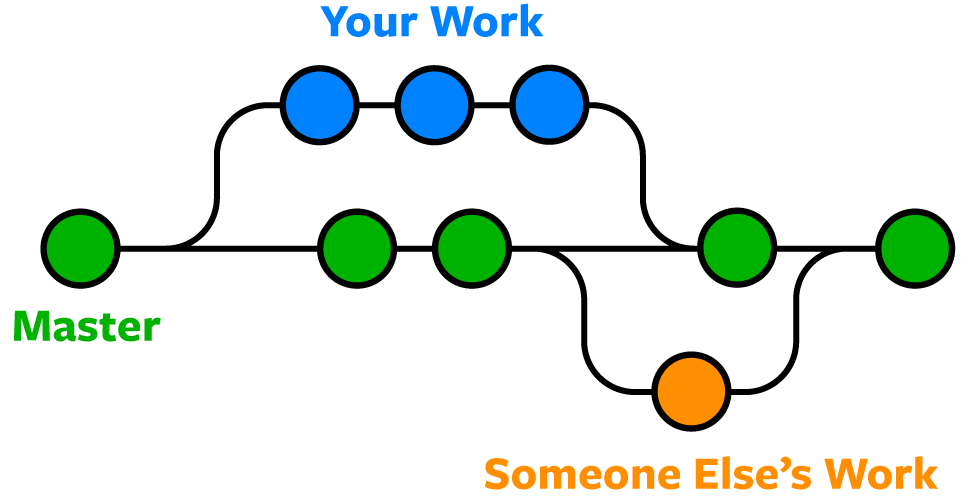
Git Workflow

Documentation
Ok, so we have covered the basics of Git and GitHub. We will talk more about documentation in Week 3, but I do want to mention something now. GitHub supports a language called Markdown that is used in things like Readme files, hosting simple web pages, and other documentation like the Wiki. Let's look at that now.
Markdown
Markdown is a simple text-to-HTML markup language written in plain text. Jupyter notebook recognizes markdown and renders markdown code as HTML. GitHub also uses Markdown code for things like Readme files and for even generating websites that can be hosted on GitHub. In this section, we present the basic features of markdown.
See Markdown (by John Gruber) and GitHub Markdown Help for more information.
Text
We can have some basic text like what we have here or we can add things like italics or bold. We can also have code blocks and specify what kind of code it is. For example, some Python code.
def fibonacci(n):
    if n <= 1:
        return n
    return fibonacci(n-1) + fibonacci(n-2)
print(fibonacci(40))
| Output | Syntax |
|---|---|
| emphasis | *emphasis or itallics* |
| strong | **strong or bold** |
code |
`code` |
hint Anytime you want to see "under the hood" just double click on the box to see the Markdown syntax used.
Headings
Headings are a great way to have sections in your documentation. Typically, we only want a section (Heading 1) and a subsection (Heading 2). But you can do more if you want. However, this can be sometimes confusing.
Also note that this is an example of a table as well.
| Output | Syntax |
|---|---|
Heading 1 |
# Heading 1 |
Heading 2 |
## Heading 2 |
Heading 3 |
### Heading 3 |
Heading 4 |
#### Heading 4 |
Heading 5 |
##### Heading 5 |
Heading 6 |
###### Heading 6 |
Lists
Create an ordered list using numbers:
Number theory
Algebra
Partial differential equations
Probability
Mathematics
- Calculus
- Linear Algebra
- Probability
Physics
- Classical Mechanics
- Relativity
- Thermodynamics
Create an unordered list using an asterisk * for each item:
- Number theory
- Algebra
- Partial differential equations
- Probability
Use indentation to create nested lists:
- Mathematics
- Calculus
- Linear Algebra
- Probability
- Physics
- Classical Mechanics
- Relativity
- Thermodynamics
- Biology
- Diffusion and Osmosis
- Homeostasis
- Immunology
Links
Create a link with the syntax [description](url). For example:
plaintext
[UBC Math](https://m2i.aere.iastate.edu)
creates the link Make to Innovate.
Images
Images can be stored locally or you can sometimes use
Include an image using the syntax . For example:
plaintext

displays the image
![]()
We can also use HTML as well. For example:
<center><img src="https://www.iaspacegrant.org/files/2019/08/Logo-for-website.png" width="200"/></center>
Here, we grabbed an image, but we can use other HTML code such as centering the image and restricting the width to 200 pixels.
It should be noted that images can be stored in other methods. You can store an image locally and using either Markdown or HTML reference that image and the location. Other HTML tags/code can also be used as well.
Tables
Create a table by separating entries by pipe characters |:
plaintext
| Python Operator | Description  |
| :---: | :---: |
| `+` | addition |
| `-` | subtraction |
| `*` | multiplication |
| `/` | division |
| `**` | power |
| Python Operator | Description |
|---|---|
+ |
addition |
- |
subtraction |
* |
multiplication |
/ |
division |
** |
power |
The syntax :---: specifies the alignment (centered in this case) of the columns. See more about GitHub flavoured markdown.
Demo
Gage will also walk you through logging into Nova and starting Mission 1. However, let's walk through some stuff now so you are better prepared for the lab next week.